Do you always end up spending too much time trying to set appointments with potential adopters?
Are you starting to have a hard time cross-checking your calendar for possible schedule conflicts?
Or maybe, you’re tired of having to deal with last-minute bookings and hopping on calls during unexpected times.
If so, then you need to start using Calendly!
What Is Calendly?
Calendly is a free online scheduling tool that makes it so much quicker and more convenient to manage appointments, meetings, and events.

You can use it right on the website, install it on your Chrome browser, or even download it on your mobile phone if you have an iOs device.
What Features Does Calendly Have?
Calendar Integration
You can integrate Calendly with other calendars, including your Google, Outlook, Office 365, and iCloud calendar, to prevent yourself from getting double-booked.
Collective Booking
Calendly doesn’t only work for one-on-one meetings. Invitees can also schedule a meeting with multiple people at once.

Email and Text Notifications
Make sure that invitees don’t forget about your appointment by setting up Calendly to send them confirmation and reminder emails or text messages.

Automatic Timezone Detection
There’s no need to spend time Googling your invitee’s timezone to make sure that both of you are on the same page.
Calendly automatically displays your available schedule in the other person’s timezone.

Video Meeting Tool Integration
Already using a video conferencing app, like Zoom, GoToMeeting, or Join.Me? Integrate it with Calendly to automatically create meetings whenever an event is scheduled!

Maximum Number of Events Per Day
Maybe you only have the capacity to meet with four people a day. You can definitely set up Calendly to cap the number of appointments that can be scheduled in a single day.

Minimum Scheduling Notice
Take control of your time and make sure that you don’t get any last-minute bookings by setting a minimum scheduling notice.
How to Use Calendly for Managing Adoptions
Now that you’re more familiar with what Calendly can do, here’s how you can use it to manage appointments with potential adopters.
Instead of sending emails back and forth about who’s available when and waiting around for days to weeks for people to respond, you can use Calendly to let adopters themselves choose from your available times.

You simply set your availability and share those dates with adopters via email or through your website using a link. Pretty simple, right?
Learn everything you need to know to start using Calendly down below!
How to Get Started with Calendly
Step 1: Go to Calendly.com
Step 2: Enter your email address
After entering your email address, click the Sign Up button.
Step 3: Sign up
If you have an existing Gmail account, you can sign up with that account to automatically sync your calendar.

But, if you don’t, you can simply create a new account.
Step 4: Enter your email address
If you chose to sign up with your Google account, enter your email address then click Next.
After that, enter your password then click Next.
Step 5: Sync your Google calendar
Click the Allow button to permit Calendly to access and make changes to your Google calendar.
How to Set Up Your Calendly Account
Step 1: Set up your Calendly account
First, you’ll be asked to create your Calendly URL.
Next, select the time zone that applies to your location and click Continue.
Once you have your Google Calendar synced, Calendly will be able to add events and monitor any possible schedule conflicts.

Confirm by clicking the Continue button at the bottom.
Step 2: Set your availability
Specify your available days and hours then click the Continue button at the bottom.

Step 3: Specify your day-to-day role
This is to give Calendly an idea about what you do and the purpose of your meetings so it can provide you with the support that you specifically need.

After checking one of the boxes, click Finish and you’re all set!
How Does Calendly Work?
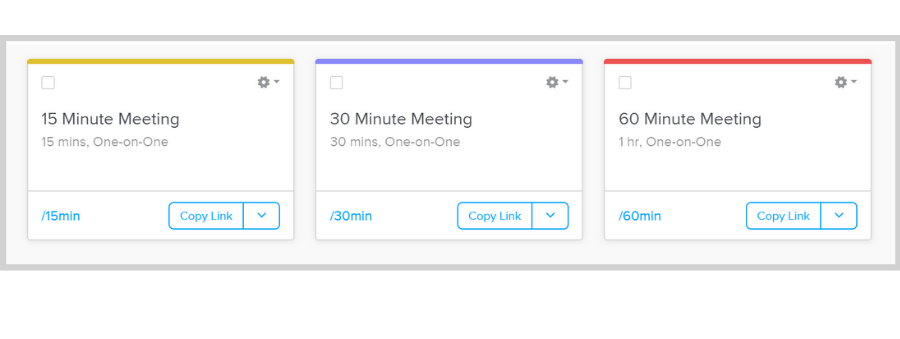
Step 1: Select a meeting type
You can customize them as one-on-one or group meetings.
And decide how long you want that meeting to be.
After that, copy a single-use link or visually embed your selected meeting on your website or in an email.
What Are Single-Use and Embedded Links?
Single-Use Links
With single-use links, adopters simply click on the link…
Pick a schedule that works for them…
Then click the Confirm button.
One cool thing is that you can actually customize how you want the link to appear.

Visually Embed Available Times
If you choose to visually embed your available times in an email, this is how it’s going to appear. Adopters just click a time that works for them.
Then, they’ll be redirected to a page to provide their name and email address and maybe add guests if necessary.
After that, they just click Schedule Event.
And an invitation will automatically be sent to their email as well as yours. 


